If you’re just starting out on guitar, you’re probably eager to start playing leads and strumming chords. But as you hurry to get started, you may realize something: you haven’t yet learned to tune a guitar! Tuning an electric or acoustic guitar can be a little bit of an adjustment, but it’s not that difficult once you get the hang of it. In this list, we’ll take you through how to tune the guitar.
How to Tune the Guitar: A Beginner’s Guide
Know Your Guitar Tuners
You can tune a guitar in a number of ways. Using a guitar tuner is quick and very accurate, so if you can, pick up a decent tuner. Even great ones are fairly inexpensive! Here’s a quick rundown of the main types of electronic tuners
Vibration-Based Tuners

Currently, these tuners are probably the most popular type. They clip onto the headstock and can sense the frequency of string vibration to determine whether you’re in tune. That makes it much easier to tune up in noisy environments.
Microphone Tuners
Many older tuners are built like this. They check your tuning by using an internal microphone to listen to each guitar string. Some also have an input jack for a guitar cable.
Acoustic-electric and electric guitars can plug into many of these older-style tuners. But if you have a tuner that relies on a microphone only, tuning electric guitars will generally be easier if you’re plugged into an amp.
Microphone tuners have trouble hearing the sound of each guitar string if you’re in a noisy environment. If you’re in an area with a lot of ambient noise, you may find that you have to tune longer or that tuning is impossible. Want to learn a little more about the various types of guitar tuners? Check out this informative video!.
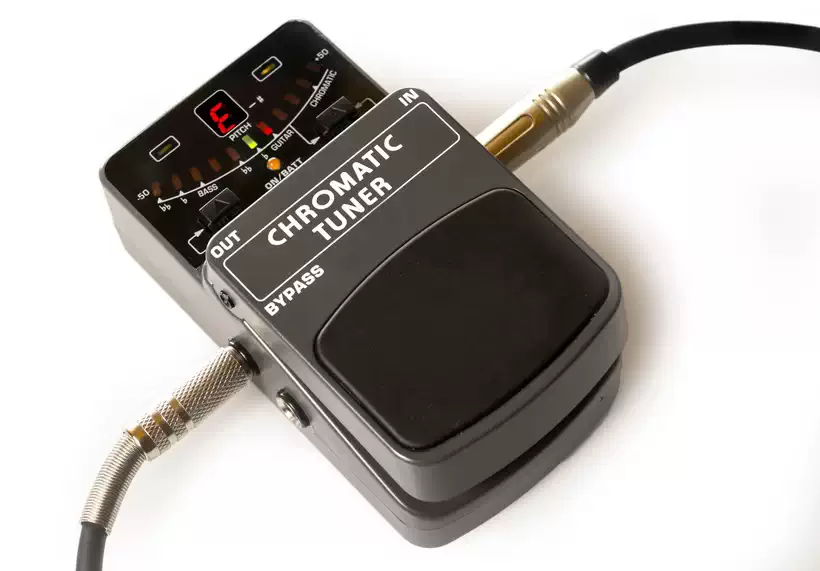
Pedal Tuners
These tuners are usually a good choice if you have a pedalboard. Though they are expensive, they are built like tanks and are very accurate. Usually, they have a very bright display that’s easy to see on stage.
Know Standard Tuning
When you’re learning guitar, it’s a good idea to stay in standard tuning. Open D tuning and other alternative tunings are a lot of fun to experiment with, but for now, we’ll keep it simple.
You can refer to guitar strings by either names or numbers. If you’re numbering the strings, the first string is the thinnest string. Somewhat confusingly, this is the string that is furthest away from you (closest to the floor) as you play. From the highest-pitched string (thinnest string) to the lowest pitched string (thickest string), the strings are numbered 1-6. This picture shows you:
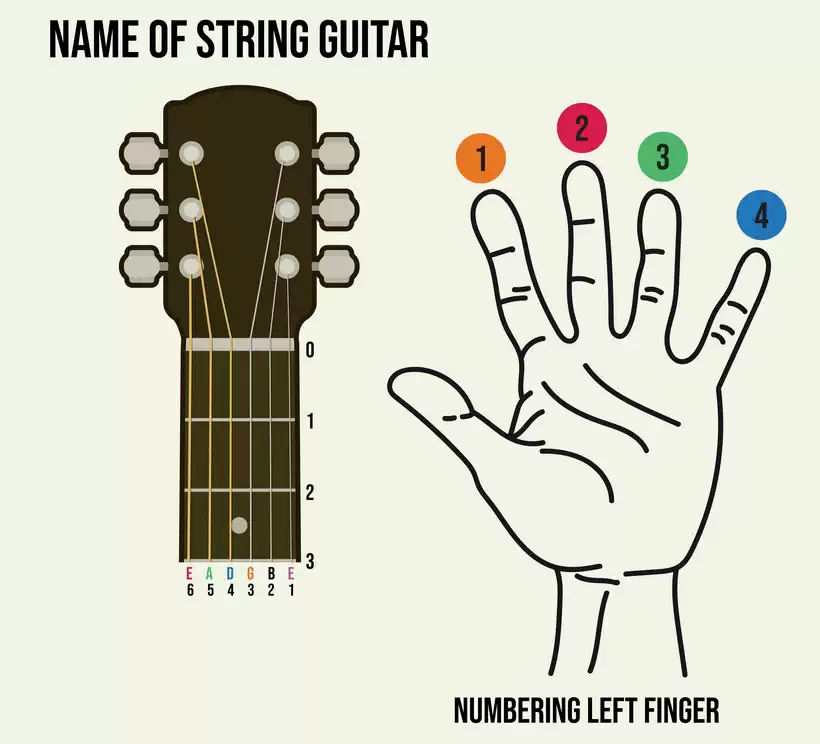
This is where it can get a little bit confusing. Standard tuning is sometimes called “E A D G B E” tuning. But that refers to tuning from thickest string to thinnest string, or the sixth string to the first string. The above picture shows you the string names by letter and corresponding string number.
Though the lowest pitched string and the highest-pitched one are both “E,” the thinner string is two octaves higher than the thicker string.
You may sometimes hear them referred to as the “high E” & the “low E” strings based on pitch. It might help to use a mnemonic to remember the string names. Many guitar teachers use “Edgar Ate Dynamite Good Bye Edgar.” Remember that the sentence goes from the low E string to the high E string!. This video gives an introduction to string names & numbers!
Use An Electronic Tuner
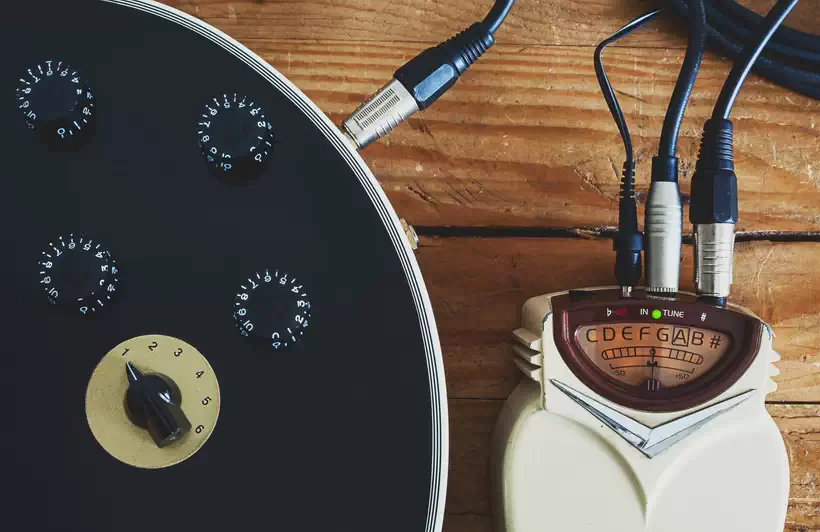
Now that you know standard tuning is E A D G B E, you’re ready to start tuning your own guitar. An electronic tuner is pretty much indispensable when it comes to quick and accurate tuning. It makes tuning your guitar much easier than with the historical tuning fork!
Most modern tuners are chromatic tuners. A chromatic tuner will sense the note you’re trying to tune to. It will then show you how sharp or flat you are.
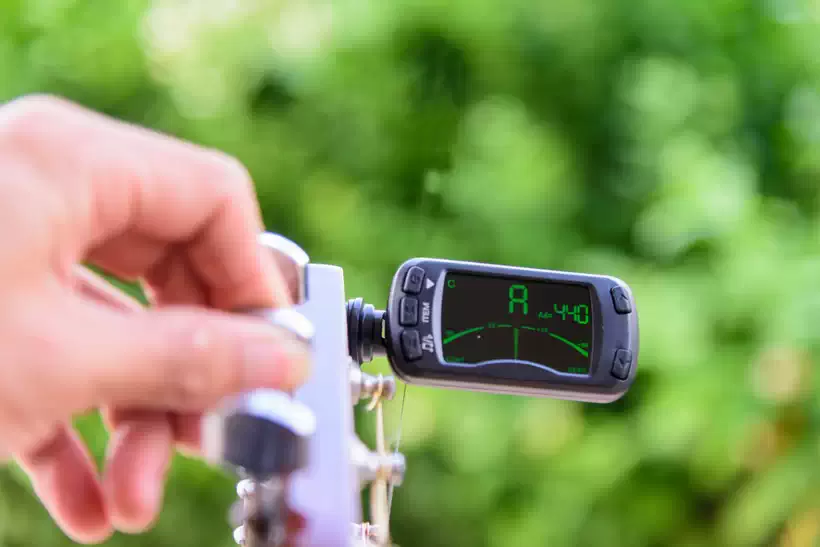
Usually, when you reach the correct pitch, the tuner will light up green (or similar color). Sometimes (especially on older tuners), hitting the correct notes will result in a “needle” reaching the center of the tuner, like this:
Start with the low E string. You’ll see that one end of the string attaches to the tuning peg on the headstock. Tuning pegs will raise the pitch of a string when turned one way and lower the pitch when turned another way.
Then go through the same process with the A string, D string, G string, B, string, and high E string. It’s a good idea to check each string one more time when you’re done.
When tuning each string, make sure to hit the string multiple times — usually, about once every second is good. Make sure you’re turning the tuning pegs with their correct strings! It’s easy to mix up the tuning pegs, turn the wrong one, and break a string. And check out this video for some tuning tips!
Try A Smartphone App
If you’re eager to get started, don’t trust yourself to reach the correct pitch tuning by ear, and don’t have an electric tuner handy, you can use your phone to tune a guitar! There are multiple free online guitar tuner apps that will make tuning pretty easy.
These apps will help you tune your guitar just like a microphone tuner will. They are usually fairly accurate. However, like other microphone tuners, they do have the disadvantage of also picking up a lot of ambient noise. If you’re in a quiet environment, that shouldn’t really be much of an issue. But if you know you’ll be doing a lot of your guitar tuning in louder environments, it may be worth investing in a clip-on, vibration-based tuner.
These apps are pretty similar to any other tuner as far as the interface goes. They will usually show you how sharp or flat you are compared to the correct pitch. You can then adjust each open string until you find the right note. This video takes you through several tuner apps for Android and iPhone.
Consider Trying By Ear
It’s tempting to learn to tune a guitar with an electronic guitar tuner and leave it at that. But what if you’re stuck without a guitar tuner? You can use the guitar strings themselves to tune your guitar!
In the past, musicians often needed to use a tuning fork to verify that their instruments were tuned to the right pitch. It’s a different process than what we consider to be tuning by ear, but it still involves trying to get your guitar to match a note that you hear.
Learning to tune by ear can do wonders for you as a musician. It certainly makes playing by ear a lot easier, and it will help you to hear nuances in your own work. To tune by ear, first, get the sixth string as close to low E as possible. You will use this to tune the other strings so they will all be in tune in relation to each other.
Next, put your first finger at the fifth fret on the sixth string. This produces “A.” Tune the fifth string to match this pitch. Do this by playing the notes back to back, over and over again, until they sound like the same note.
Now, fret the fifth string at the fifth fret. This gives you “D.” You want the fourth string (the D string) to match.
To tune the third string, put your finger on the fifth fret of the D string. That gives you “G.” You want the third string to match this pitch.
Tuning the second string is a little different. Put your index finger on the third string at the fourth fret. That gives you a “B.” Tune the second string (the B string) to match.
Lastly, to tune the first string, put your index finger on the second string at the fifth fret. This method is sometimes called the “5 5 4 5” method.
The key takeaway here is that you tune each string to the one above it. You always place your finger on the fifth fret except for on the G string. On this one, you put your finger on the fourth fret. You might not be a guitar tuning expert at first. And when you first use this method, you may find that you need to tune longer than normal. But use an electronic tuner to check each time and watch your ear develop. For more tips on learning to tune by ear, check out this video.
Tuning With Other Instruments
Just like learning to tune a guitar by ear will help you develop as a musician, trying to tune your guitar to pitch based on other instruments is a great exercise. Tuning to another guitar or a bass guitar is often easiest. However, pianos are incredibly tuning-stable, so they are especially reliable.
Listen to the other instrument (as long as it’s correctly tuned!) and try to match its pitch. If your guitar sounds like it’s playing the same note, you probably have the right pitch.
Of course, you can always check with a guitar tuner after you tune your guitar this way. Just like tuning a guitar using its own strings, tuning this way will really help train your ear. If you want to see a few examples of ear training exercises for beginners, check out this interesting video.
Understand The Importance Of Being In Tune
When you first learn to tune your guitar, you may not see the need to fine-tune. But as you develop your ear, you’ll be able to hear when your guitar is even a little out of tune. Certain chords will start to sound sour.
Before your ear is fully developed, you may not be able to hear the fact that you are out of slightly out of tune. But as you play, more experienced musicians will usually be able to tell!
When it comes to guitar tuning, always take the time to get each guitar string to exactly the right pitch. That may mean you need to tune in longer, but it will be well worth it. If you’re curious about the importance of having your guitar tuned very accurately, check out this helpful video.
Support Tuning Stability
Part of maintaining tuning stability is putting on new strings regularly. Keep in mind that it can take a little bit for new strings to stretch out. This is true with an acoustic guitar or an electric guitar and with steel strings or nylon strings.

Once you change your strings, you will likely have to pause to re-tune them for the first hour or so that you play them. This can be annoying, but thankfully this phase does not last too long!
Old strings make it a lot easier to go out of tune. That’s because they lose their ability to hold tension over time, meaning they will tend to go flat. Changing strings every 2-3 months is a good general rule of thumb, although this depends on how often you play.
Poor intonation will also often make you go out of tune. Intonation refers to tuning all the way down the neck. Checking it is as simple as making sure the open string and fretting the same string at the 12th fret gives you the exact same note. You can intonate your own guitar, but you can take it to a guitar shop if you prefer. This video tutorial will show you how to intonate your own guitar!
Lastly, temperature and humidity changes will affect the wood of the guitar’s body and neck. That can negatively impact tuning stability, too. Do your best to keep your guitar in a climate-controlled environment. Definitely don’t leave it in your car for an extended period of time!
Tune-Up Every Time!
You might be tempted to only use your guitar tuner once every few practice sessions. Do your best to avoid this — tune up each time you play! After all, you want to train yourself to be able to hear if your instrument is even a little out of tune. Be sure to fine-tune each time, too.
Even if your electric or acoustic guitar has great tuning stability, bending strings can make it easier to go out of tune. And on electric guitars with whammy bars, it’s usually very easy for your guitar to go out of tune. (If you don’t have them already, quality locking tuners can help.)
As a bonus, if you tune up each time you play, you’ll usually only have to make small adjustments each time you tune in. In many cases, you can tune up in a minute or less. Even though you already know how to get your guitar into standard tuning relatively quickly and accurately, you might find this video on guitar tuning tips to be helpful.
Try Out Alternative Tunings!
If you try other tunings and find one you like, it’s often a good idea to have different guitars for different alternate tunings.
Open G is a good open tuning to try, especially if you play folk acoustic guitar. Open G tuning is so-called because strumming all the strings open gives you a G chord.
Open C tuning gives you a C major chord when played open. Open C gives you a very dark, very heavy sound. After all, you’re tuning the low E string all the way down to C! Like other lower tunings; this one is especially useful for metal.
On the other hand, if you play metal or hard rock, you’ll probably like drop tunings more than open tunings. Drop C, Drop A, and similar tunings can make power chords easier while delivering deep, powerful low end. If you’d like to try alternate tunings but aren’t sure where to start, check out this video on seven great alternate tunings.
Want Some More Guidance?
If you’re tuning up for the first time, you might be looking for a structured program to help you maximize your learning potential. Most guitarists find that having some sort of roadmap makes learning a lot easier. An online learning program can be a great choice for guitar players of every level. And it doesn’t just stop at lessons. Many online learning sites include a free online guitar tuner, guides to common alternate tunings, and access to free chord charts and other resources.
Final Thoughts
Hopefully, you now have a pretty good idea of how to tune the guitar properly. Remember that playing the right notes (and playing your favorite songs!) starts with having your strings tuned to the right pitch! Whether you’re just getting used to standard tuning or trying out all the alternate tunings you can, we wish you the best on your tuning adventures!

