Whether you’re new to piano playing or are experienced enough to be teaching piano, you probably want to warm up your hands before playing. If you’ve ever experienced the stiff, slow feeling of jumping right into a difficult piece, you probably would rather not experience it again. To help you avoid that, here are some piano warm-ups to use anywhere.
Piano Warm-Ups: A Guide for Anyone!
We’ve collected some piano warm-ups to build finger strength develop muscle memory, and more:
1. The Hand Stretch
Most of us know that a warm-up exercise is often useful before physical activity. But when you think about it, playing the piano is very physical too. You rely on your whole body to be able to play well. Though it might not seem like it at first, even your posture has an impact on how you play. In particular, it’s important to keep your shoulders back!
This simple hand stretch is a quick one you can do before you start practicing. As shown in the picture, simply take one hand and pull back on the other hand.
You should feel a bit of a stretch in your palm and your wrist. Hold for around 10 sections and repeat about three times on each hand. You can adjust the amount based on how stiff your hands are. If you want to check out more stretches for your hands and fingers, check out this helpful video!
2. The Spider
If you find yourself getting tight or uncomfortable palm muscles as you start your practice session, this exercise is likely to help. This is another one you can do without a piano; you just need a tabletop. It works the same way as the hand stretch, but some people find that the spider gives them a deeper stretch. This spider piano warm-up is often used for kids, but it’s good for pianists of all ages (and especially those with small hands).
First, place both hands on a tabletop to do the spider warm-up. Your wrists should be touching the tabletop, and your fingers should be slightly curved as they are when you play the piano. Stretch out your fingers so you feel a slight stretch in your palm.
One by one, lift up one finger at a time, being careful to not move your other fingers from the table. With each finger, you lift, try to point it as upward as you can.
You should feel a more significant stretch, but it shouldn’t hurt! If you do find yourself often experiencing palm tightness or pain, this video offers some more great stretches to help you loosen your palm a bit.
Of course, if the pain keeps going, it’s a good idea to see a doctor.
If you do this exercise, your hands should be more relaxed as you play. Being relaxed enough to be comfortable while still maintaining dexterity can be tough. But in time, it will become muscle memory.
3. The Five-Finger Scale: Right Hand

This exercise might sound familiar. It’s a good way to warm up with one hand before playing with both hands at the same time. It might sound involved written out here, but when it comes to actually playing it, it’s pretty simple. To make it easier, we’ve broken this into a right-hand section and a left-hand section. We’ll start with the right hand:
If you’re familiar with your scales (or some of them), we’ll be using the C major scale for this piano warm-up. Don’t worry if you haven’t learned scales yet; you can still do the warmup. The C major scale starts at middle C. You then play one white key after the other. The C major scale has no sharps or flats, so the keys create these notes:
C – D – E – F – G – A – B – C
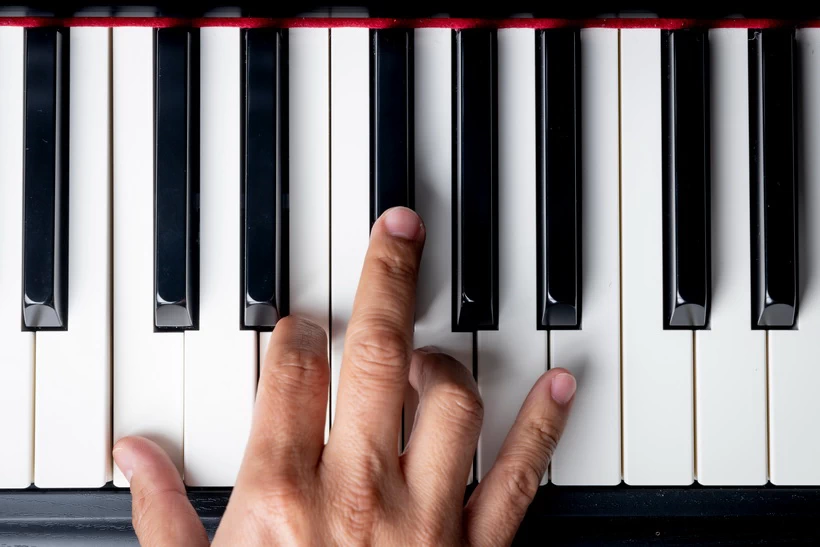
Here, the distance to the next C is an octave. Start with your thumb at middle C. Your index finger should be on the white key immediately to the right, your middle finger should be another key over, your ring finger should be the next key to the right, and your pinky should be on the next one after that.
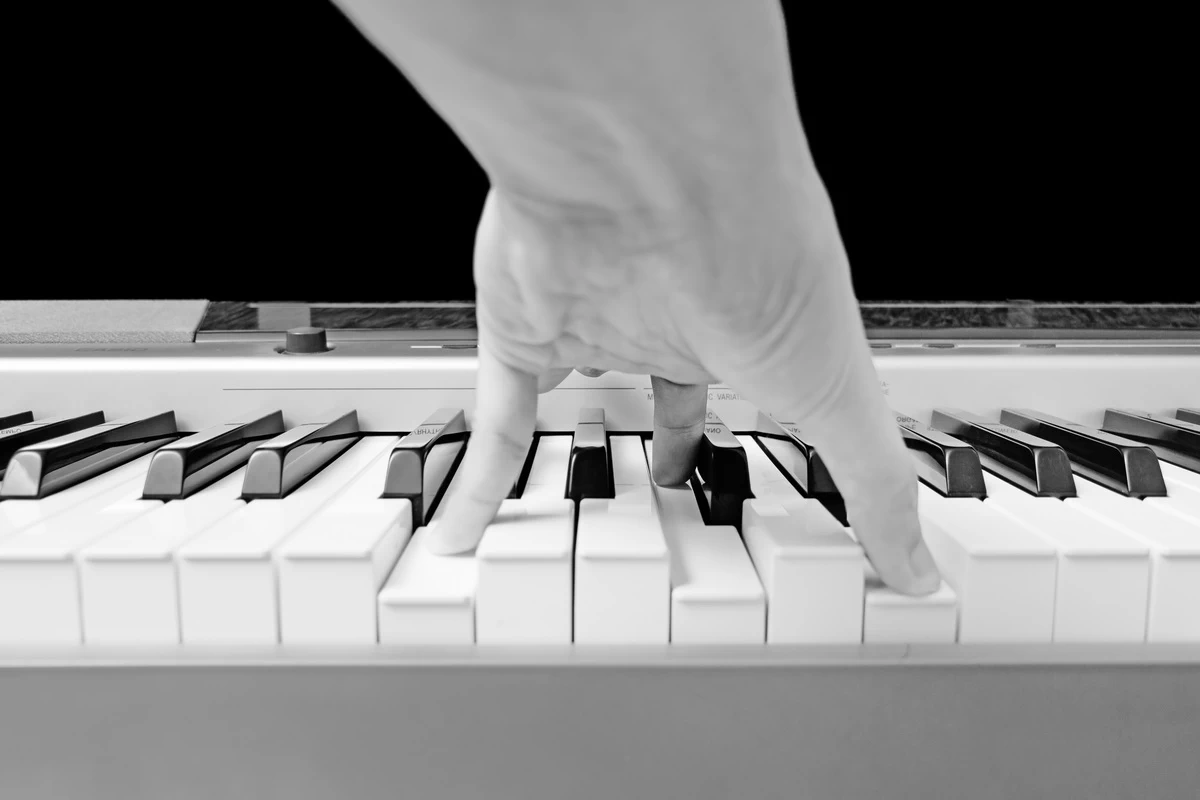
Now that you have all your fingers resting on adjacent white keys, we’re ready for our five-finger scale. Then, play this:
1 – 2 – 3 – 2 – 3 – 4 – 3 – 4 – 5 – 4 – 3 – 2 – 1
For our purposes, your fingers are numbered 1-5, with 1 being your thumb and 4 being your pinky.
It can take some time to get the hang of this one. But by switching up the finger order, this warm-up exercise helps get your fingers loose and helps you develop better dexterity.
(If you want some more tips on developing dexterity on the piano, check out this helpful video.)
But we aren’t done yet! Keeping the same finger numbers, move your index finger to the next note in the C major scale (this would be D, immediately to the right of middle C). Repeat the exercise on each note of the scale!
Just like with all exercises, make sure you start slowly and only build speed as you get comfortable. Once you’ve finished the exercise, you can move on to the left hand.
4. The Five-Finger Scale: Left Hand

As you likely already know, the left-hand five-finger scale works similarly to the right-hand version.
Using the same finger numbers as we did above, play the same notes as before, but use this finger pattern:
5 – 4 – 3 – 4 – 3 – 2 – 3 – 2 – 1 – 2 – 3 – 4 – 5
Just like the pattern above, it can take some time to get used to it. But since this is a warm-up, you really don’t need to worry about playing it at lightning speed. It’s a good idea to play at a quick enough tempo that it’s a bit of a challenge. If need be, you can play along with a metronome.
That said, if you want to really build speed as a pianist, check out this video from Pianist magazine!
The five-finger scales (both the right-hand and left-hand versions) are especially good warmups if you haven’t yet ventured into other scales. As you learn newer and more challenging scales on the piano, you can start incorporating them into your warm-up exercises. Switching up your warm-ups will keep your brain engaged and make you a significantly more versatile player.
5. The Chord Arpeggio

You don’t need to know extensive music theory to know what an arpeggio is. But in case you’re at the very beginning of your piano journey, an arpeggio is when each note of a chord is played individually. Most chords have 3 notes, so most arpeggios will have 3 notes, too.
This exercise asks you to practice arpeggios. But there’s a twist! Rather than playing them as you normally would, you will need to play the arpeggios staccato.
Playing staccato involves playing the notes somewhat sharply as if they’ve been cut short. Generally, playing staccato involves a good bit of motion in the wrist.
Though this is a great exercise, it’s somewhat challenging to describe how to play staccato here. So if you’re unfamiliar with the technique, this helpful video will help you learn how to do it.
Once you know how to play this way, pick a chord progression you like. Play through it, making every note staccato. Remember that speed isn’t really the point here — staccato notes definitely sound short and a little bouncy, but they don’t need to be played at blistering speed!
6. The Hanon Exercises

The Hanon exercises are some of the most enduringly popular musical exercises. Composer Charles-Louis Hanon published them in 1873. He designed them to help pianists develop flexibility, muscle memory, and finger agility.
One of the advantages of Hanon exercises is that you don’t usually have to purchase something to get Hanon’s exercises. This website offers them for free.
Because they rely on sixteenth notes, they can be a little fast for beginners. However, you can still use them for warm-ups if you slow down the tempo considerably. If you find a Hanon exercise that’s too hard, it’s always good to check for another — there’s one for practically any level.
As a side note, if you are a new player who is not altogether confident in your ability to read sheet music, make sure you always listen to an audio example of an exercise. That will help you check to make sure you’re playing it correctly.
There is such a vast collection of Hanon exercises out there that it’s impossible to show you each one. But for an introduction to the first 10 exercises, check out this helpful video tutorial. It even includes a bonus on-screen keyboard so you can see the exact notes that the instructor is playing.
Want to Learn More?
Exercises are an important part of learning piano. But if you have no real structured learning plan, you’re almost certainly not making the progress you could be! Whether you’re still learning the names of the white keys, getting a handle on the major scale, or just wanting to learn a new song or two, an online course in piano might be just what you need. Online lessons don’t just offer thousands of lessons in nearly every genre — they also give you the structured path you really need to succeed.
Final Thoughts
Warm-ups aren’t just for sports — when it comes to piano playing, getting muscles warmed up will help improve your speed, the accuracy of your fingerings, and more. What’s your favorite warm-up exercise? Let us know in the comments, and please like and share if you learned something new.

